Using InsightConnect to automate the investigation and remediation of potentially malicious phishing emails can help provide massive efficiencies to a security team, and can also help reduce the overall risk that an organization may be faced with. But even in a world where this process, or at least parts of it, are automated there can be compounding cost associated with each message that is analyzed. There are also API quotas to account for. Depending on the services you are using to perform data enrichment, automated API calls can make it very easy to churn through these quotas.
For example, think of phishing campaigns where a single bad actor may be sending large portions of your organization the same phishing email. You could have hundreds to even thousands of users sending it over to your security inbox for analysis. If you have already analyzed this message once, you should be able to reuse the results every time that same email is submitted and save yourself even more time while not wasting valuable API calls.
Getting Started
You can account for this in your workflow by using Global Artifacts. Global Artifacts are designed to make sharing data across different workflows and jobs possible in a very simple manner. Workflows in InsightConnect are customizable to your specific processes but for the sake of this post we are going to start with this Phishing Workflow.
Setting Up Your Global Artifact
Before we start updating the workflow, the first thing we will want to do is create our Global Artifact. So in InsightConnect, we can navigate to Workflows->Reusable Elements->Global Artifacts and select “Create Global Artifact.” Next, we will need to decide what schema we want our Global Artifact to have. This will determine what data it can store and also how we can look that data up later. For this example, I want to store the Sender, Subject, and Classification of the email, so I set my Global Artifact schema in a manner that can support that. All Global Artifacts are JSON arrays, essentially lists of data entries, and in this case since we want to store multiple keys we will choose “object” as our array type.

I will then create my Global Artifact with a name, description, and some tags.
Modifying the Workflow
As we design our workflow there are two things we want to be able to accomplish.
- If our workflow has analyzed a net new phishing email, we want it to then add an entry to our Global Artifact
- We want our workflow to be able to look up entries in the Global Artifact so that we do not analyze the same email more than once
Add Entries to the Global Artifact
To start getting value out of your Global Artifact, you need to make sure that your workflow(s) are appropriately adding data to it. We will start by identifying where to add this step to the workflow. Notice towards the bottom of the workflow there is already a Decision Step centered around the outcome of the analysis.
Email Decision
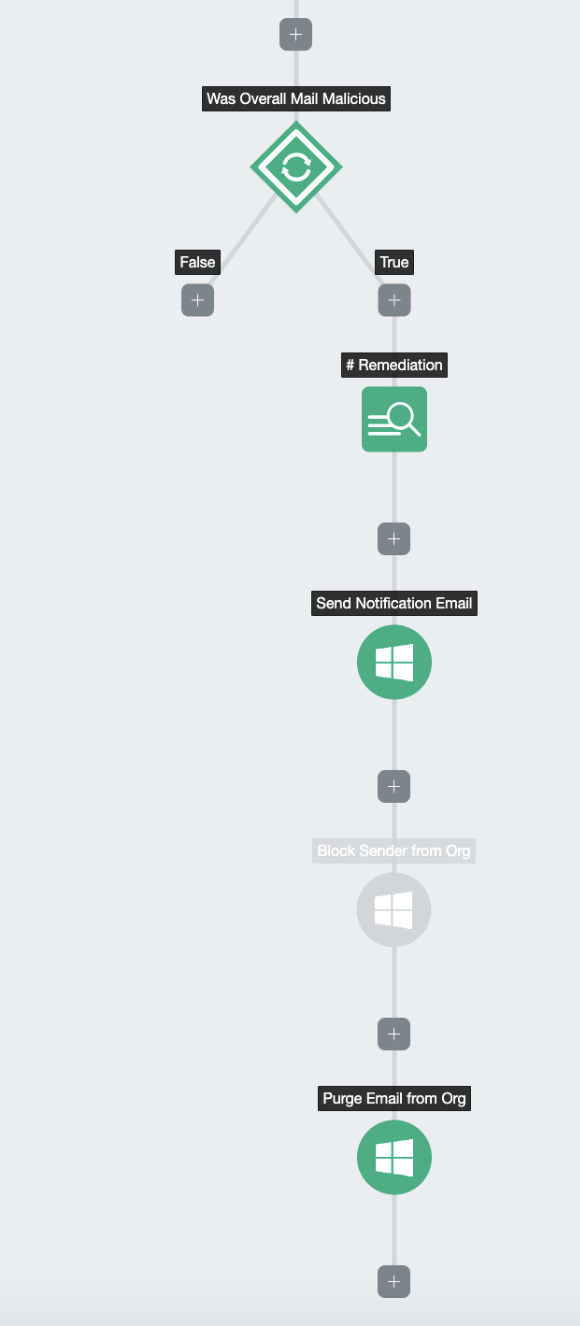
We have a situation where the email can be marked as malicious or benign and we will want to add to our Global Artifact in both situations. Let’s start with our “False” path. I will add in a Helper Step to be able to interact with my Global Artifact on this path and will choose my “Add” action. I can name my action and when I choose my Global Artifact the schema will dynamically populate for me.
For the sender I will pass in {{["Office 365 New Email Trigger"].[icon_email].[flattened_attached_emails].[0].[sender]}}, for the subject I will pass in {{["Office 365 New Email Trigger"].[icon_email].[flattened_attached_emails].[0].[subject]}} and for classification I will manually type “Benign”. Now, I will do the same thing on my “True” path with the only difference being for classification I will now type “Malicious”. Your updated workflow should look like the below.
Workflow with Add

Now, as this workflow executes it should be adding data from reported phishing emails to our Global Artifact. Now it’s time to update the workflow to be able to reference that data.
Look Up Global Artifact Entries
The first question to answer is where in the workflow it would be appropriate to perform our lookup in the Global Artifact. My attention pretty quickly goes to the “Has Attachments” Decision step and the “Email Attachment Loop” Loop step.
Has Attachments Decision
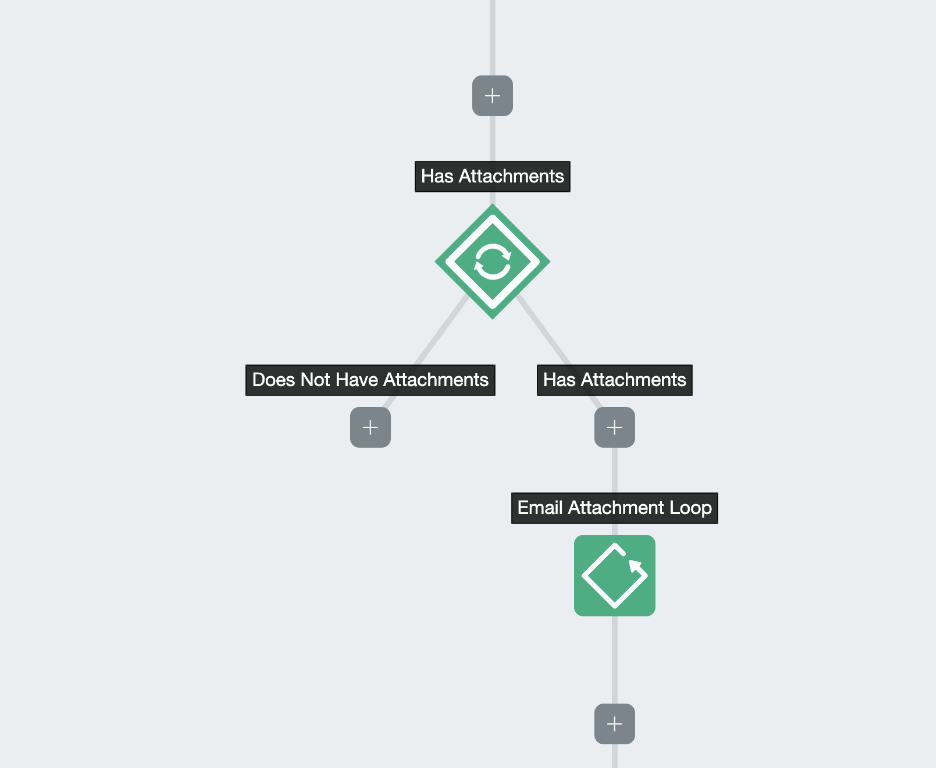
Inside the loop is where the analysis of the email will begin, so ideally our lookup will occur before that. So above our loop I will add in another Helper step. We will choose to perform a Lookup this time using the “subject” key. Now we can make an assumption that if the workflow got to this point, the user reported the email correctly as an attachment and has only attached one email, so we will use this value {{["Office 365 New Email Trigger"].[icon_email].[flattened_attached_emails].[0].[subject]}} in the lookup.
The newly added Helper step will return a variable titled “found” that you can now use to create another Decision step in your workflow. If the email has already been reported, you can now loop over the matches in your Global Artifact, and depending on the “classification” you can take whatever response action you would like - e.g. skipping entirely over the analysis part of your workflow. And if the email has not been reported, you can simply have the rest of the workflow run as expected. Your updated workflow will look something like the below image.
Workflow with Lookup

Enjoy saving time and improving automation efficiency with the Global Artifact step!